This article is part of a series -
- Building a blog with Nuxt content (Part 1) 👈🏻 We are here
- Building a blog with Nuxt content (Part 2) - Coming Soon
In the world of making stuff online, blogs are a great way to share thoughts, connect with people, and show that you know a lot about a certain topic. Nuxt Content is a special tool for the Nuxt framework that makes it easier to build a blog. With Nuxt Content, developers can focus on making interesting content instead of dealing with complicated technical stuff.
This article will be the first part in a series that will teach you so much about Nuxt Content and Nuxt, giving you the knowledge and skills you need to create an awesome blog that people will enjoy. The first article will look at setting up your Blog. Follow along and find out how Nuxt Content makes building a blog easier, so you can turn your ideas into cool online stories.
Setting Up our Nuxt Project
Let's start by getting our Nuxt project ready.
Before running Nuxt on your computer, ensure that you have Node version 18.0 or higher installed. Open your terminal and enter the following command:
npx nuxi@latest init Your-Project-Name
Replace Your-Project-Name with the name you want for your project. In my case, I used Nuxt-content-blog as the project name, but you can pick any name you like.

cd Nuxt-content-blog to move your terminal into your new project and npm run dev to spin your development server.
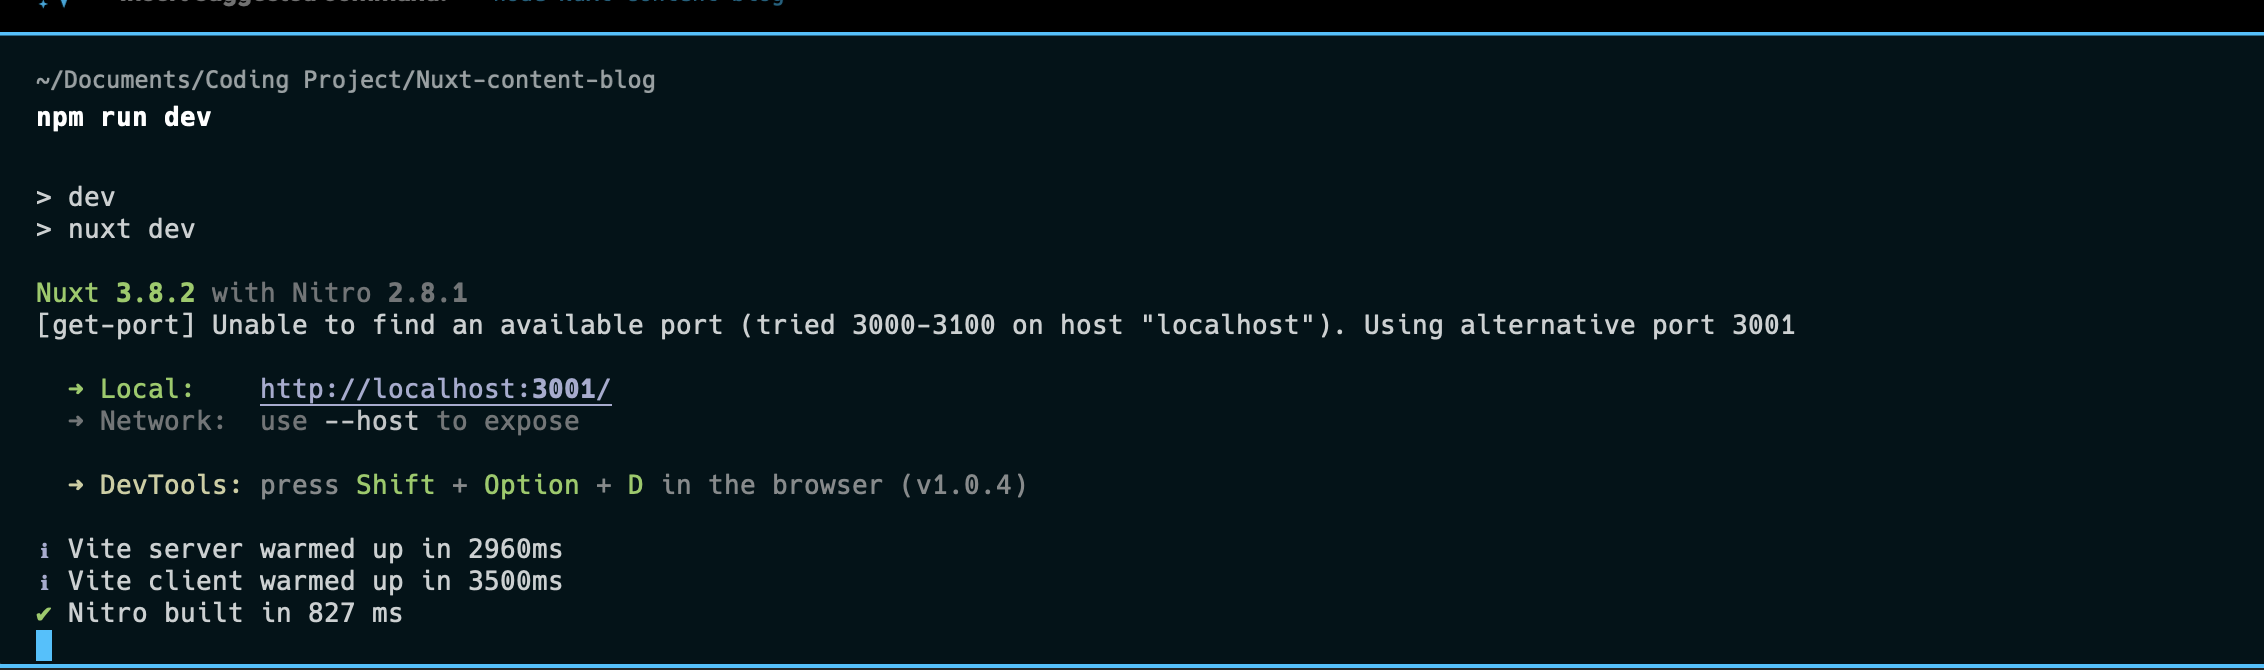
Now we open server link in our browser. We get:
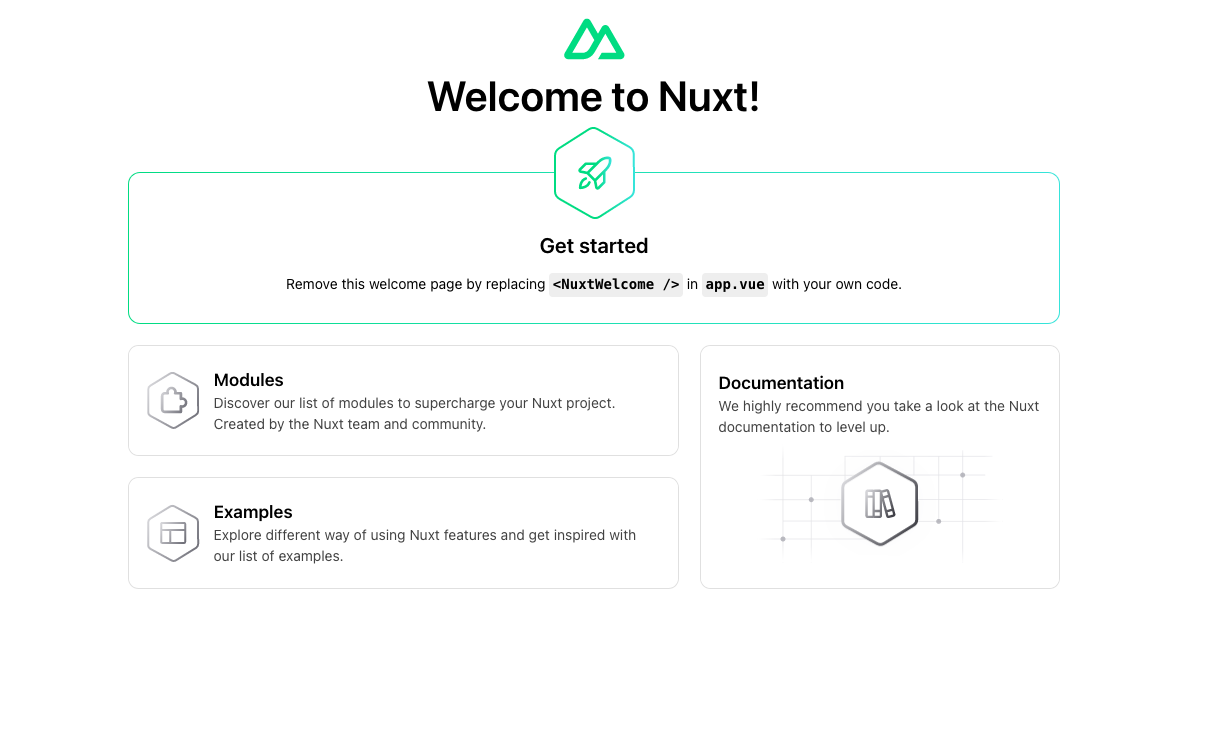
Awesome 🚀. Now our Nuxt project is up and running.
Setting up Nuxt Content
Nuxt Content is a file-based CMS (Content Management System) module for Nuxt. It enables developers to manage and display content within their Nuxt applications using a simple and flexible file-based approach.
Nuxt Content supports various file formats, including Markdown (.md), YAML (.yml), CSV (.csv), and JSON (.json), providing flexibility in content creation and organization.
How awesome is that. Let’s add it to our Nuxt Project.
#npm
npm install @nuxt/content

#yarn
yarn add @nuxt/content
You can also create a Nuxt project with Nuxt Content auto installed by running
npx nuxi@latest init content-app -t content
With Nuxt Content installed you need to include it in the modues section of your nuxt config
//nuxt.config.js
export default defineNuxtConfig({
  modules: ['@nuxt/content'],
})
I will also install Nuxt UI to provide some already created UI components to create my blog UI quickly. You can find out more on Nuxt UI here. Nuxt UI comes with tailwindcss pre-installed which i will be using for my styling.
Creating Content
Now that we have Nuxt Content set up in our project. Let’s explore this awesome module
-
Content Directory: Nuxt Content uses a dedicated directory specifically for storing content. This directory is typically named
contentin the root of your Nuxt project. This is where you would store all your markdown, CSV, YAML, JSON, and XML files that you want Nuxt Content to read and make accessible to your application. It provides an easy-to-use API for managing and accessing these files, making it a breeze to integrate into your Nuxt.js application. -
Markdown Files: One of the key aspects of creating your blog posts is to use Markdown files. You can create these Markdown files within the designated
contentdirectory. Each individual file that you create in this manner will represent a single blog post. This system ensures an organized structure for your blog posts and allows for easy navigation and editing.
We'll create a "blog" directory inside our content directory to systematically organize our blog posts, serving as a central repository for easier management and location of specific posts.
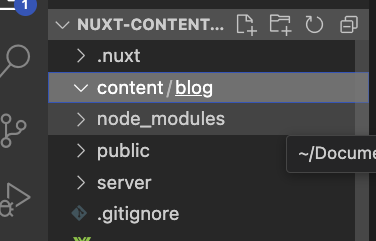
Awesome 🚀 Now we can start adding our articles. Let’s create our first article
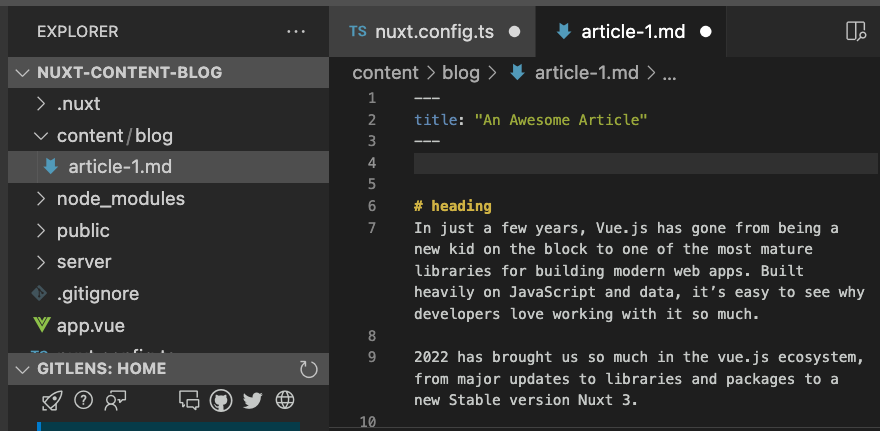
Now our first article has been uploaded in a markdown file.
Displaying Content
Now that we’ve created our content, let’s find out how we can display the content to our users. Nuxt Content offers a set of composables and components to help with fetching and displaying content.
With our blog page we want to first have the ability to list all available articles in our blog.
// pages/index.vue
<script setup>
const { data: blog } = await useAsyncData("blog", () => queryContent("/blog").find());
</script>

<template>
  <div class="w-full">
    <div class="w-full py-40 bg-gray-100 px-4">
      <h1 class="text-6xl font-bold text-center">My Blog</h1>
    </div>
    <div class="max-w-7xl bg-white rounded-3xl shadow-md -mt-20 mx-auto p-10 grid grid-cols-3 gap-10">
      <UCard v-for="item in blog">
        <template #header>
          <h2 class="text-2xl font-bold">{{ item.title }}</h2>
        </template>
        <img :src="`/images/${item.image}`" class="w-full" :alt="`image for ${item.title} article`" />
        <p class="mt-4 font-medium text-gray-500">{{ item.description }}</p>
        <template #footer>
         <ULink :to="item._path" class="hover:underline hover:text-blue-500">Read More</ULink>
        </template>
      </UCard>
    </div>
  </div>
</template>
The queryContent composable provides methods for querying and fetching your articles from the content directory. And it is recommended to wrap your query in [useAsyncData composable](https://nuxt.com/docs/api/composables/use-async-data) to prevent fetching duplication (on server and then again on client) on first load.
Now let’s see how our page looks

Perfect ⚡ now our articles are being rendered as a list.
To provide a better reading experience for our users, we'll now create individual pages for each article on our blog. Let's set up the routing in Nuxt and load each article on its own page.
// pages/blog/[id].vue

<script setup>
const route = useRoute();
const { data: article } = await useAsyncData("article", () =>
  queryContent(`/blog/${route.params.id}`).findOne()
);
</script>

<template>
  <div class="w-full pb-10">
    <div class="w-full py-40 bg-gray-100 px-4">
      <h1 class="text-6xl font-bold text-center">{{ article.title }}</h1>
    </div>
    <div
      class="max-w-7xl bg-white rounded-3xl flex flex-col items-center shadow-md -mt-20 mx-auto p-10 gap-10"
    >
      <img
        :src="`/images/${article.image}`"
        class="max-w-3xl rounded-2xl"
        :alt="`image for ${article.title} article`"
      />
      <ContentRenderer :value="article" class="prose" />
    </div>
  </div>
</template>
With the above code block, we extract the route parameter for our article page and use it to fetch data from our Content API, enabling us to display each article on its dedicated page.
Nuxt Content also offers an in-built <ContentRenderer> component which renders a document coming from a query with [queryContent()](https://content.nuxt.com/composables/query-content). This is necessary to parse our markdown content into html for us to display on our page.
Let’s see if our code works as expected.
Now our blog and articles are functioning as expected.
Now that concludes the first part of our series. In this step of our journey to building a fully functional blog with Nuxt Content, we've laid the foundation by setting up the routing and loading individual articles on their respective pages.
In the next article, we'll dive deeper into enhancing our blog with features like pagination, categories, and more, making it more interactive and user-friendly. Stay tuned for the next installment where we take our blog to the next level!