
One of my favorite features in Nuxt is how it reduces boilerplate code by using conventions. This can be seen especially with how it handles Vuex setup. In this post I'll go over 4 different ways to setup your Vuex store in Nuxt, let's dive in!
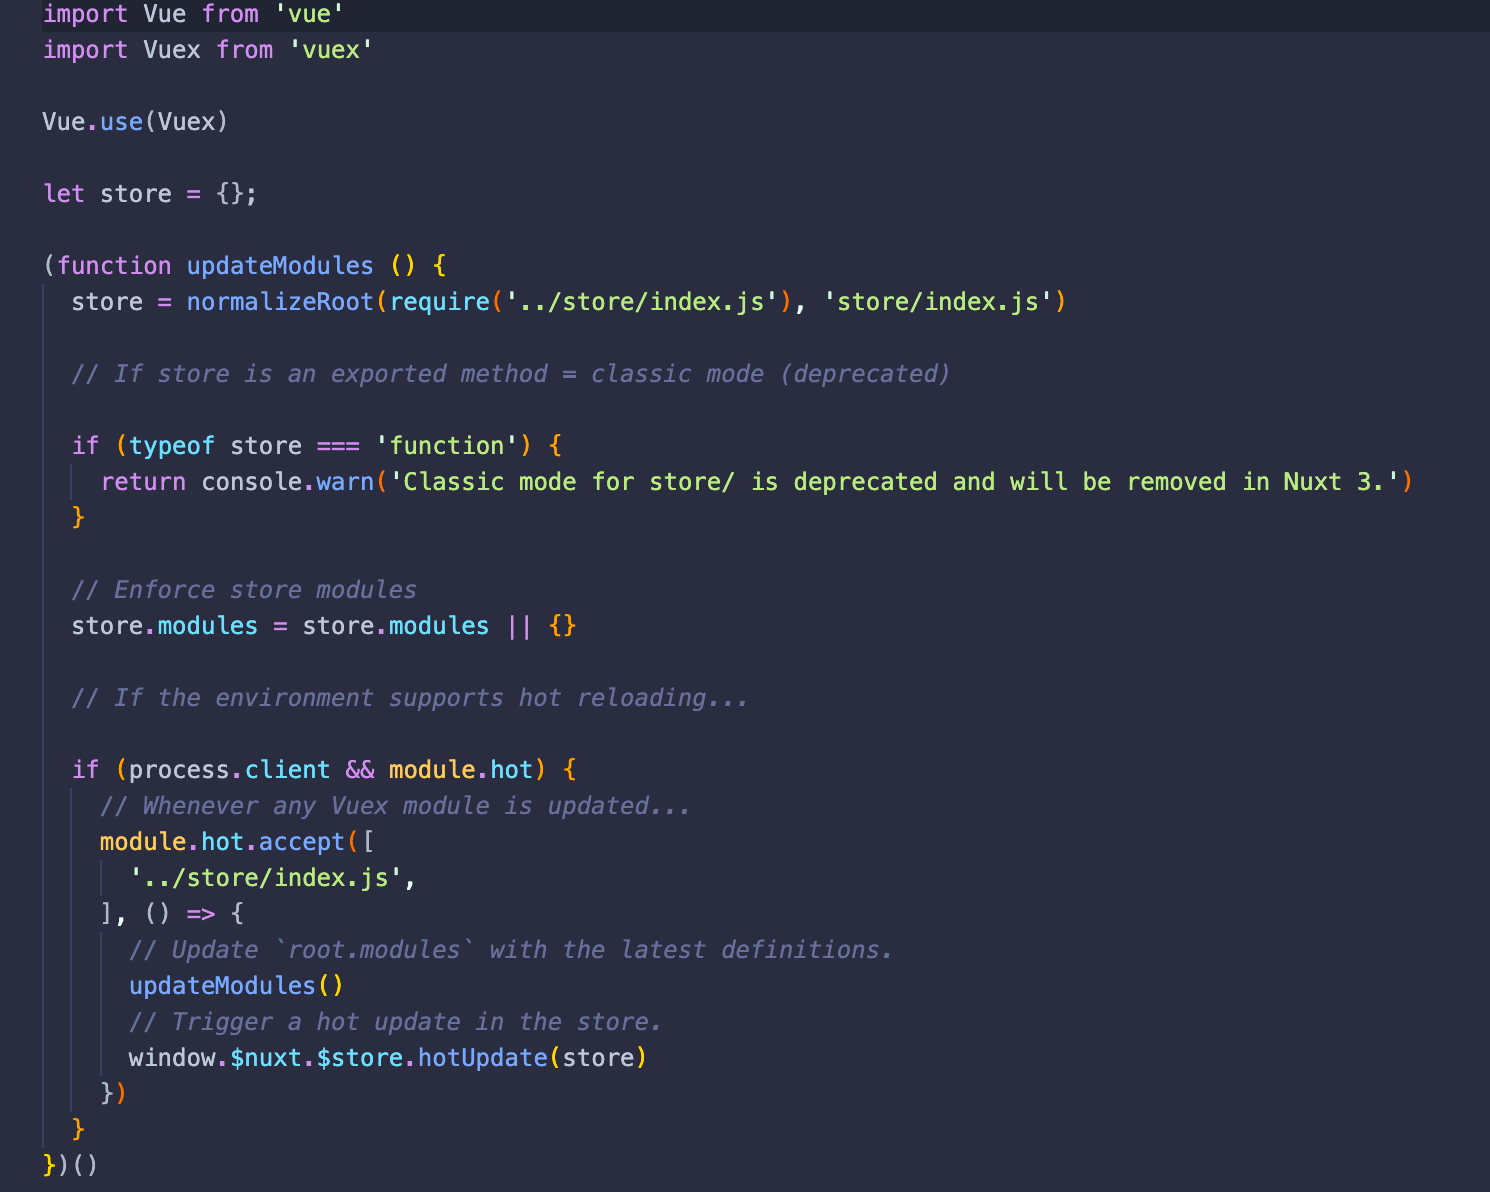
All Vuex files are located inside the store folder. Just like the pages folder, it's special. The files and folders are used as build time to automatically generate your Vuex store. As soon as you create the folder and save, you'll see Nuxt already starts to generate your store file in the .nuxt folder.
Method 1: Root Namespace, One File
Let's start with the simplest store setup, a single file. If you create /store/index.js you can fill it with your state, mutations, actions and getters. With this setup there are no namespaces and everything lives in this single file.
// holds your root state
export const state = () => ({
  counter: 0
})

// contains your actions
export const actions = {
  counterUp({ state, commit }){
    commit('setCounter', state.counter + 1)
  }
}
// contains your mutations
export const mutations = {
  setCounter(state, value){
    state.counter = value
  }
}
// your root getters
export const getters = {
    myGetter(state){ return state.counter + 1000}
}
One thing you may notice above is that the state is a function, this is criticall! If it's not a function then Nuxt will share the state with all users (in universal mode) which would be very bad!
Method 2: Root Namespace, One File Per Intent
If your store code gets a little too big you can split up your store by intent! Just remove your index.js and create files for state, actions, mutations, and getters. Nuxt will automatically build them as one store in the root namespace. From the example above, we just need to move each section into its own file and use a default export.
// /store/state.js
export default () => ({
  counter: 0
})
// /store/actions.js
export default {
  counterUp({ state, commit }){
      commit('setCounter', state.counter + 1)
  }
}
// /store/mutations.js
export default{
  setCounter(state, val){
      state.counter = val
  }
}
// /store/getters.js
export default {
  myGetter(state){ return state.counter + 1000}
}
When you are done, the folder should look something like this.
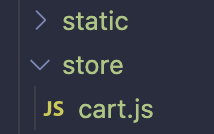
Method 3: Namespaced, One File
If you'd like to use namespaces in your app, but still want a single file for a space, just name your single file the namespace you'd like it's contents under. If we take the index.js from Method 1 and name it cart.js, all of the getters, actions, mutations, and state would be under the cart namespace.
To access a state within a namespace, just use a computed property with the namespace name after the state property.
computed:{
  counter(){
    return this.$store.state.cart.counter
  }
}
If you wanted to execute an action within a namespace, you would add the namespace + slash + action name.
this.$store.dispatch('cart/counterUp')
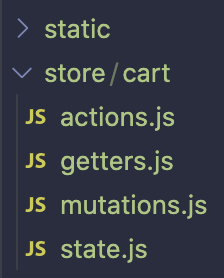
Method 4: Namespaced, One File Per Intent
As you might have guessed, you can also have a namespaced store with your intents split up too! If we take Method 2 and moved each file into a folder called cart it would look like this.
Summary
There you have it, 4 different ways to setup your store.
- Everything in 1 file with and without namespaces
- Seperate files with and without namespaces
In general, if your project is going to use Vuex, I'd recommend using namespaces and a separate file per intent right from the start. Even if you don't think you'll need them. As your project grows, you'll already be setup to have your code be organized and maintainable!